I thought that today I would include you all into my world of research. I have been asked how my yogurt maker would do in making Coconut Milk Yogurt, and I have not yet tried this. In honor of this request I have begun to look into others recipes, and their challenges and reasons why they worked on a coconut yogurt.
The reason to find out why, is to see if it truly will fit your needs. If the focus was on dairy free just because they are trying to go dairy free, they may be more lax with using the milk yogurt as a starter. If the focus on the recipe is because of food allergies, then they will have found a recipe that is completely dairy free. If it's based on economics, then again they will be using the most economical means to accomplish their yogurt. In saying all of this, I'm letting you all know that understanding the "why", is just as important as the "how".
So, I will be trying one of these recipes over the weekend, and maybe others to follow later on, to see how I like them. I will most likely be making the vanilla versions, because I like vanilla. I do know from other recipes and other milk versions of yogurt that both honey and agave can be used to sweeten your yogurt.
Now, you can click on the title and get back to the original blog, and read all the comments. I have done so on some of these, which is how I have some of the other links in here.
So here is to research, and I will post my findings here in the near future.
Just as a note, my yogurt maker is a bit different than some of these others, and I would adjust accordingly.
Coconut Milk Yogurt
3 14-ounce cans coconut milk
1/4 cup good quality commercial plain yogurt (or previous home made batch)
1-2 tablespoons honey
Candy thermometer
- Bring the coconut milk to ~125 degrees and remove from heat.
- Cover and cool to about 110 degrees. It is very important that you allow the temperature to drop so as not to kill the bacterial culture you are now ready to introduce.
- Remove about one-half cup cooled coconut milk and make a paste with one quarter cup of good quality commercial yogurt. The commercial yogurt you use should be unflavored and unsweetened. You could use a starter but why spend the extra bucks? Commercial yogurt works fine. You can use your home made yogurt as a starter for your next batch.
- Mix the paste with the remainder of the cooled coconut milk, honey and stir thoroughly.
- Pour milk into any appropriately sized shallow glass, enamel or stainless steel container, cover and let stand for 24 hours at 100-110 degrees up to a maximum of 29 hours. To keep the correct temperature for the culture, I use a 60 watt bulb in my oven and leave the light on. No other heat is needed. Remember, too high a temperature will kill the bacterial culture; too low of a temperature will prevent the activation of bacterial enzymes.
- Remove from oven and refrigerate.
http://www.rawglow.com/coconutyogurt.htm
Coconut Milk Yogurt - From Stephens recipes
Candy Thermometer is needed
Sterilize all bowls, utensils and yogurt maker (internal container)before starting. You can sterilize them in the dishwasher or boil them for 5-10 minutes.
Ingredients:
2 14 oz. cans organic coconut milk, unsweetened
¼- ½ cup dried milk substitute (Vance’s
DariFree or Miss
Roben’s
RiceMilk Powder)
½ teaspoon dairy-free
probiotic
Combine coconut milk and dried milk substitute in a sterilized, microwavable bowl. * Stir until the contents are well mixed. Heat in 30 second increments in the microwave until the temperature of the milk mixture is between 105 and 115 degrees. Scoop out about ½ cup of the milk mixture into a sterilized cup, and add the
probiotic. Gently stir until the
probiotic is mixed in. Then add the liquid back into the main bowl and mix.
*You can also do this on the
stovetop. Make sure to sterilize the pot and spoon.
Pour mixture into the yogurt maker and “cook” for 8-10 hours. You should smell a tart, “
yogurty” smell and the coconut milk will be thick. Refrigerate for at least 4 hours. Makes about 4 cups of cultured coconut milk. Sweeten or flavor however you like.
Sweeteners: maple syrup, agave or sugar and a little vanilla extract—like a teaspoon of sweetener per half cup of yogurt and 1/8 teaspoon of vanilla. I used some maple syrup with frozen blackberries and raspberries. I also hid some nasty tasting vitamins in it!!
You can use pectin to thicken if this recipe is too thin. * If you use pectin, add it when you put in the coconut milk and dried milk substitute. You will need to blend it in the blender or use a hand blender. Be sure to sterilize whichever you use. Then heat the mixture to 115 degrees and add the
probiotic and calcium water (included with the pectin) and then continue with the above directions.The most important things to remember are to sterilize everything (even utensils) so there is no bacteria to compete with the
probiotic and make sure that the coconut milk/dried milk mixture is lukewarm (between 110-115 degrees) when you add the
probiotic.
http://www.customprobiotics.com/index.htm
http://angelaskitchen.wordpress.com/2008/04/05/coconut-yogurt/
Coconut Milk Yogurt (half batch)
1 can (15 oz.) organic coconut milk or lite coconut milk
heaping 1/4 t. dairy free probiotic*
Tools Needed:
2 half-quart Mason jars (I used cleaned salsa jars)
large stainless steel spoon
2 large/medium stainless steel pots (I used a double boiler nested pot setup)
kitchen thermometer
a few old clean kitchen towels, a large pot and lid (large enough to hold mason jars)
OR yogurt maker
 Yeah, we have a wee bit of coconut milk hangin' around...
*I used Culturaid dairy free probiotic since it is free of many of the common allergens: gluten, dairy, yeast, corn, and soy.
*UPDATE* As several of you have pointed out, Klaire Labs has discontinued Culturaid. I've written a length response in the comments section, but to keep it short, we recommend
Dr. Ohhira's, Essential Formulas Inc., Probiotic, a 60 capsule probiotic with 12 active cultures, a 5-star rating from 300+ reviews, priced at ~$34.50 - $5 (Referal Coupon Code: JOC350), or $29.50, less than the Culturaid and other competing allergy free probiotics/yogurt starters.
Instructions for Coconut Milk Yogurt
[Gluten, Dairy, Soy, Corn, Yeast Free and Low Carb/Low Fat]
1.) Sterilize your container(s):
I boiled water in my electric kettle to sterilize my yogurt jars and stainless steel pot. After the water boiled, I let it sit for 10 or so minutes while I went onto step 2. When you need two yogurt containers, just discard the hot water.
2.) Pour out the sterilizing water from the pot and pour in the coconut milk. If you didn't shake the can and the milk has separated, just give it a quick stir with a clean/sterilized stainless steel spoon. Turn the milk to medium high heat and keep your thermometer handy. Bring the milk to just boiling with your thermometer in the milk, but not resting or touching the pot (you want the temperature of the milk, not the pot).
Continuously stir the milk until it reaches around 160 degrees. I've seen the range of 170-180 degrees for "normal" milk in order to kill the bad bacteria, but the canned organic
coconut milk does not suffer bovine growth hormones, animal antibiotics passed into the cow milk, pesticides, or any chemical residues that can hamper regular milk. I am more lax with the temperature for this reason. If you'd prefer to go to the higher temperature, go for it, but
make sure to keep stirring so the milk doesn't burn. Several discussions about this post around the internet have questioned my rationale for this step - i.e. "why boil the coconut milk at all? Canned coconut milk ought to be sterilized in the canning process". This is true. The culture requires a coconut milk temperature between 80 - 100 degrees Fahrenheit, so the 160 degrees cited above is likely overkill.

3.) Set up your yogurt-making area.
The yogurt culturing area can be a real yogurt maker or this handy type setup shown below. All that is necessary is that the yogurt stay around 100 degrees (or as close as possible). I placed 2 jars in my largest pot with a few warmed towels on the bottom to insulate the jars. I used 1 jar for steaming hot water and the other jar for the yogurt. Here's a
cool site for making yogurt by livelonger on HubPages which gives nice pictures and the incubation idea of a cooler and hot water instead of a yogurt maker.
4.) Let the coconut milk cool. Check the milk comes to around
100-110 degrees before adding the probiotic starter.
Once the milk has cooled, stir in the probiotic starter. If you were making normal cow-based dairy yogurt, you could use premade/purchased yogurt with live cultures instead of specialty probiotic starter. For dairy free coconut milk yogurt, we can't do this of course- hence the Culturaid.
Boil some more water and pour into one of your open jars shown above. The hot water in this jar along with the insulating towels and closed pot will help keep the yogurt jar warm so the cultures can grown during incubation.
Pour the inoculated yogurt/coconut milk into the other jar and close the lid to keep it warm. I added a few more towels for jar insulation.
5.) Cover the whole setup or your yogurt maker. I turned my pot to very very low heat (barely on) to keep the setup warm. You may not need to do this depending upon the temperature of your kitchen. It was cold and rainy when I made this (Murphy's law in action). Let the yogurt
ferment for 6-10 hours. Mine took more like 10 hours since it was so cold in my kitchen (crazy spring weather). Let the yogurt rest while it ferments.
After the allotted time has passed,
check the coconut milk yogurt. It should be firm and more of a yogurt texture. Mine was not as thick as cow milk yogurt (which often has yucky thickeners in addition to the plain old yogurt, especially if you eat the nonorganic kind), but it was definitely thicker. It had a nice slightly sweet-sour yogurt bite to it as well as all those uber healthy (nondairy) probiotics! Now I can down yogurt by the quart like Jon, right? :)
Refrigerate the yogurt when it is thick and "finished."
The probiotics in yogurt and fermented foods (kraut, etc) are the "good" guys you want in your intestines to help improve your
immunity, keep you regular, build and strengthen your bones, lose weight, and detoxify you. One of my favortie online general health bloggers, Cathy Wong, has a
great summary of probiotic health benefits and possible interactions. The
Harvard Medical School Health Guide also has a good article with some interesting folk uses for yogurt.
Probiotics are especially vital in the healing process for those with compromised digestive systems, like those with IBS, Crohn's disease, and Celiac. In addition to this dairy free yourt, I love homemade red cabbage kraut and NutriWest tohttp://www.blogger.com/post-edit.g?blogID=2481681411865096771&postID=7159596550496912970tal probiotics. I've noticed a sincere and immeasurable difference in my digestion and energy. It's just anecdotal evidence, but it does obey my "it works" philosophy. Yet another great resource is
USProbiotics.org. A general Google search on the health benefits of probiotics is overwhelming, so I'm barely scratching the surface here. Don't fret, I'll be back ranting about them much more in future posts. My other favored site for health info at World's Healthiest Foods has a
great summary on (regular) yogurt.
Keep in mind that this coconut milk yogurt is dairy free, but since it is cultured with the probiotics it will contain many of the same fermentation byproducts like some B vitamins.
I’ve sung the praises of
coconut yogurt many times. But what if you don’t live near a store that stocks this relatively new product? Or, what if your kids are such yogurt fiends that you can barely afford to keep them stocked in this relatively-dang-expensive yogurt?
You can make your own! Seriously. It’s way easy, and costs about 1/3 as much.
.

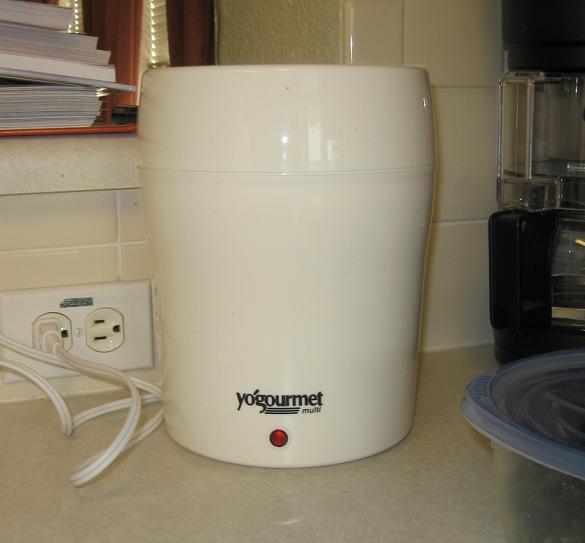
This isn’t a recipe so much as it is a process, which is to say, having the right kitchen equipment is key, including a
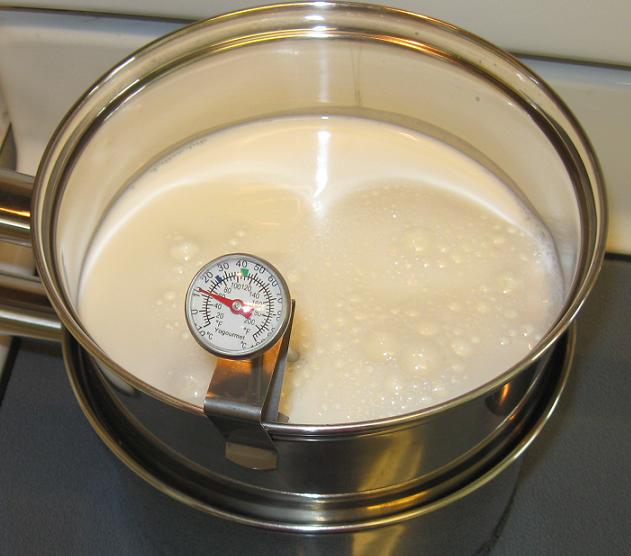
yogurt maker. But before we get to that point, you’ll need a double-boiler. (If you’ve never heard of one, that’s a special kind of pot that is actually two pots, one nestled inside the other. You put water in the bottom pot, and this allows you to warm things in the top pot extremely evenly and carefully without scorching. It’s generally used for melting chocolate and other delicate things like that.)
.

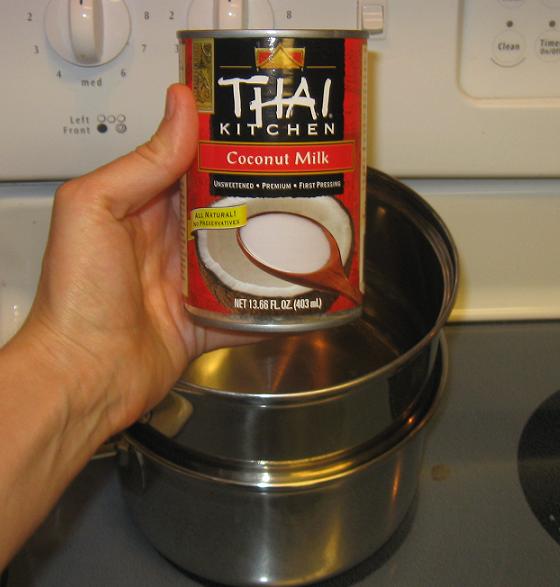
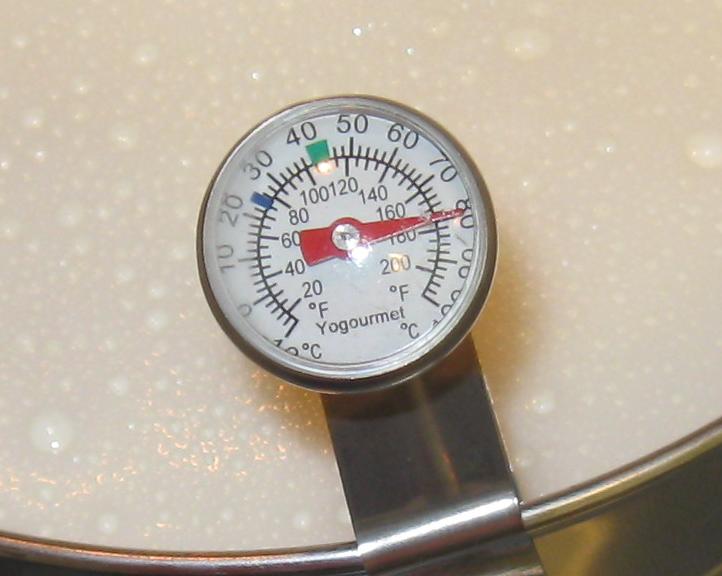
Anyway, pour in two cans of coconut milk, turn on the heat, and watch the temperature with a thermometer until it gets to exactly 180 degrees. Don’t forget to stir occasionally so you’re getting an accurate reading.
.

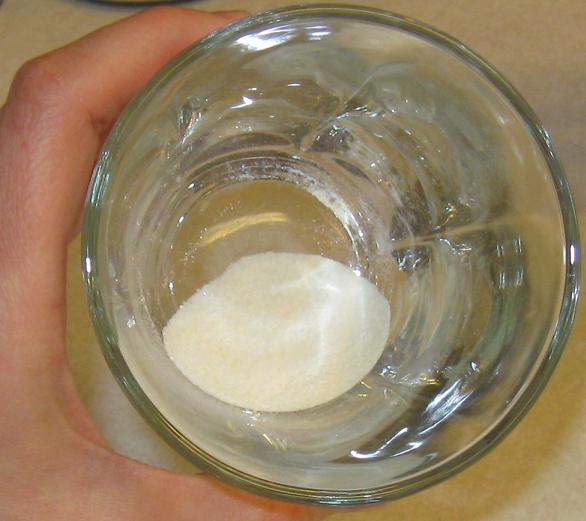
Meanwhile, get out your yogurt starter. This is the polite name given to the living bacterial critters that make yogurt what it is, also known as probiotics. But be careful! Anything that is officially sold as “yogurt starter” almost certainly has dairy in it. If your kid already takes a good probiotic supplement (and they probably should be,) you can just open up one of those capsules and use it. Or if they don’t, and you’re not sure where to start,
Culturelle is a good brand that is gluten- and dairy-free, and comes in individual packets you can use for each batch of yogurt.
.

Just as the temperature is right at 180, pull the top pot off of the double-boiler. You just want to graze that upper limit; any higher and it might start boiling, which we don’t want. The only reason we’re heating it up at all is not to cook it, but to sterilize it. Making yogurt involves creating an ideal environment for bacteria to grow, so we have to make sure that there are absolutely no bad bacteria hanging out anywhere near our coconut milk before we start.
.

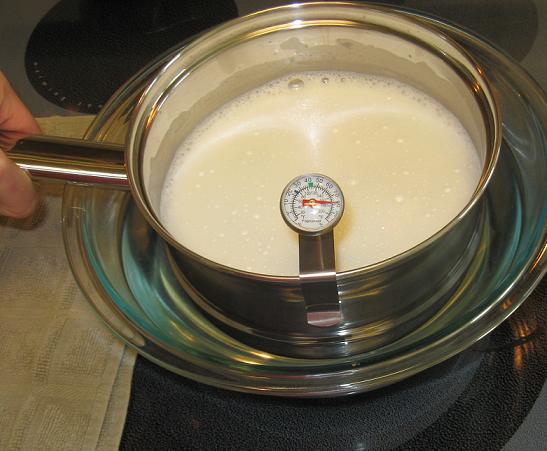
Now it’s sterile, which is great, but it’s still so hot it would kill our good bacteria too if we put them in there, which is not so great. So we have to let it cool down again, to 110 degrees, which happens to be the perfect temperature for making little buggies happy. (The same goes for when we’re
baking bread with live yeast, you may recall.) You could just set the pot aside and be very patient, or you could be like me and dip the pot in a large bowl of water to cool it down faster.
.

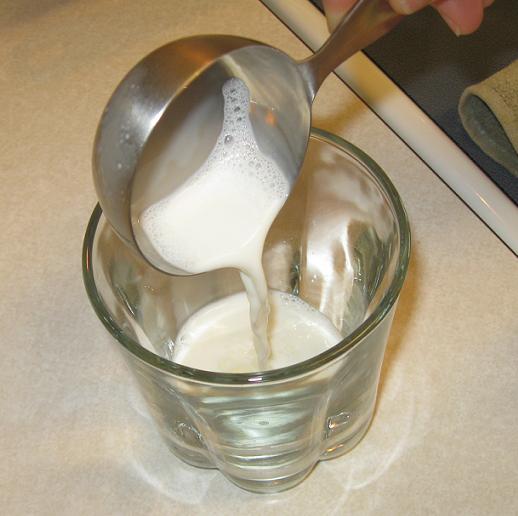
Once you’re back down to 110 degrees, scoop a small amount out of the pot and mix it with your probiotics. Make sure all the powder dissolves thoroughly.
.

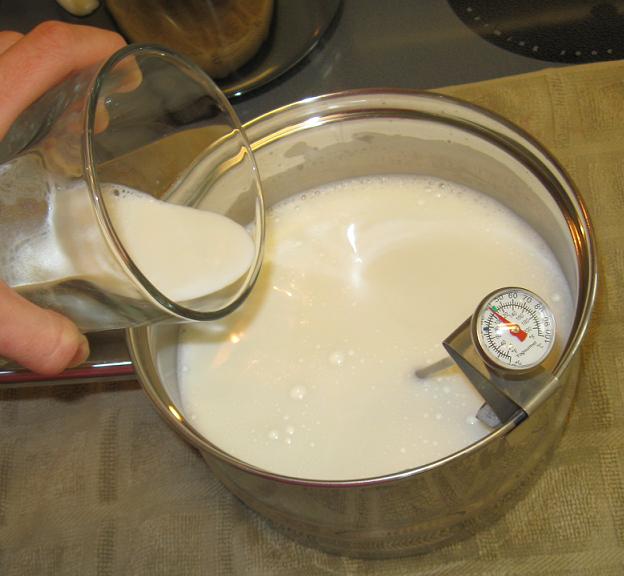
Then mix the dissolved concoction back into the pot.
.

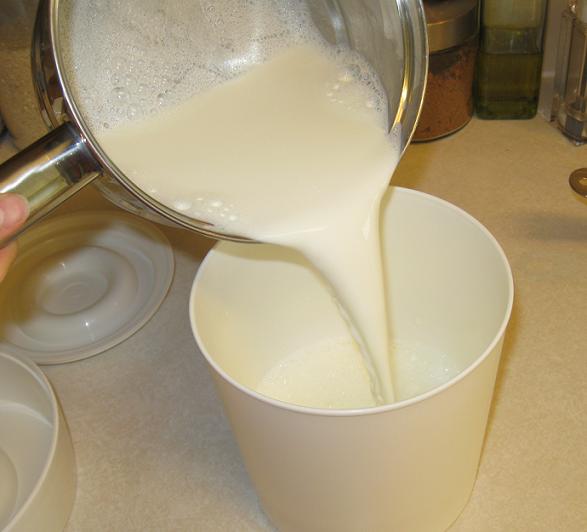
Pour the whole thing into your
yogurt maker’s inner container…
.

Then close up the outer container around it and let it hang out on your counter for 24 hours. Some instructions might tell you that you only need a few hours, but in my experience that just doesn’t give the bacteria enough time to flourish unless you’re using multiple doses of probiotics. Ideally, when you open that container up, it should be noticeably thicker than it started, and that’s how you’ll know the probiotics have really multiplied. If it’s still completely runny, you may need to use a double-dose of your probiotic, or you may have accidentally killed it at some point, perhaps by adding the bacteria in while the milk was still too hot, or by using a questionable brand of probiotics that was mostly dead to begin with.
.

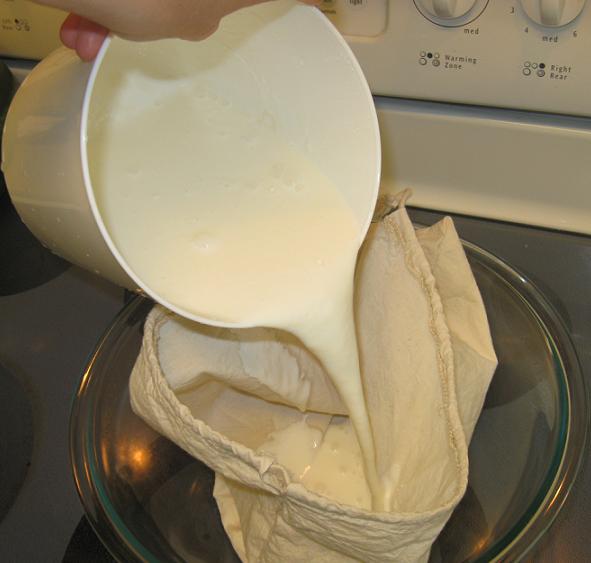
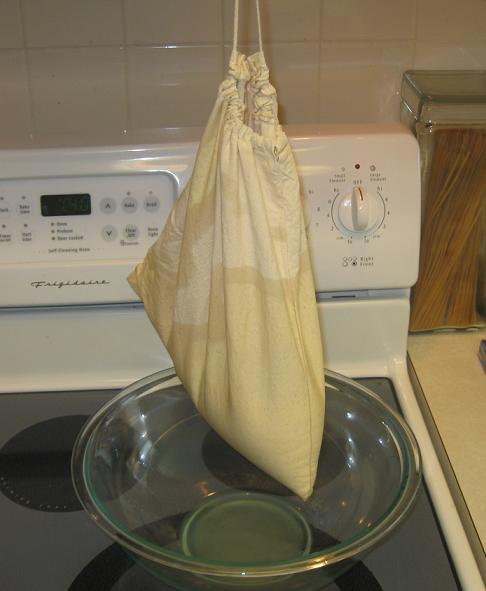
But even the heartiest of probiotic colonies probably aren’t going to result in the kind of yogurt thickness you’re used to buying at the store. To achieve this, you have to strain the yogurt, also known as dripping it. Your yogurt maker should come with a bag of cheesecloth (so named because it’s what you use to make cheese!) Set the bag inside a large bowl, pour the yogurt in, and then lift the bag and hang it by the strings, allowing the clear liquid to drip out.
.

I usually tie mine to the microwave door handle. If we were making yogurt out of milk, that liquid would be what’s known as whey, but as it is, it’s just coconut water.
How long you let it drip depends on how thick you want it; at some point enough liquid will come out that you’ll move beyond yogurt into the consistency of cream cheese, which may even be something you want to try to make sometime. I’ve never been able to get it anywhere near a truly firm, grate-able cheese consistency, but I suppose it might be possible if you let it sit long enough. Some people also prefer to drip it in the refrigerator rather than out at room temperature, but my refrigerator doesn’t have nearly enough space for that.
.

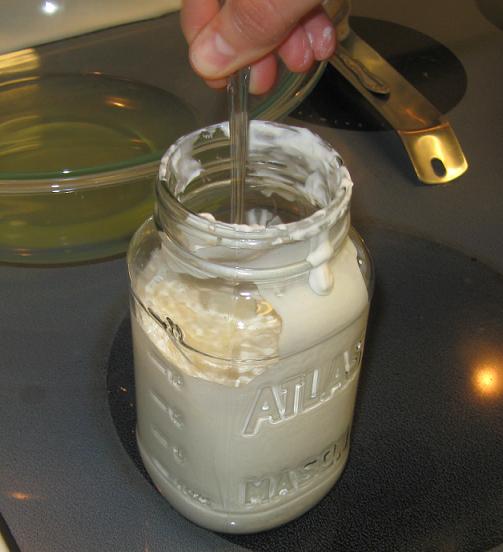
Ultimately, you’ll have to turn the bag inside out and do a fair bit of scraping to get the yogurt into a storage container. Make sure you make a big mess while you’re doing that. It’s what I would do.
.

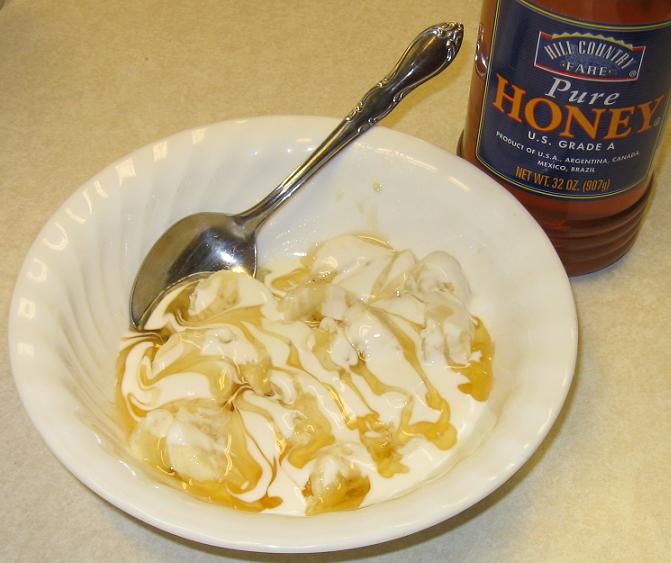
And I figure, if I’m going to all this work just to have yogurt in the house again, I deserve to be downright decadent in enjoying it. That right there is a banana, topped with coconut yogurt, drizzled with honey. I could eat that for breakfast every single day, y’all.
.
Happy Eating!
.
Homemade Coconut Yogurt
2 cans coconut milk
1 packet/dose of GFCF probiotics, or more as necessary
banana (or other fruit as desired)
honey (not optional!)




 (with adjustments)


